How to make a knife...(or how I make one...)

Making a knife is a supremely rewarding thing to do thats for sure, and something that doesn't require years of skill... not that having years of skill is a bad thing, there are some very talented makers out there who make some exquisite pieces. You won't find a super detailed how to of every step on making this style of knife... at least not yet... I've just thrown together some pictures of the process I take. Its not the only way... every time I make a knife the process changes, some steps I miss altogether, and some get badly repeated; all in all though, the end product is what matters.
This particular knife was a relatively simple design with only a few components. The main section, most obviously, is the wood. We ordered it specially from ebay as we really wanted the Olive wood. Normally, the wood is salvaged, but this was a special project. Without showing you a picture, its just a case of drilling a whole big enough for the tang of the blade and deep enough so as the other materials fit the handle. Next assemble the other materials.
The crucial part of the knife was the bolster. Actually its them most crucial part of any knife... but this one was extra special. The copper was sourced after much searching, and work began on marking the shape for the blade to pass through...

Ignore the hole I already made... a bit too hasty on the hole making methinks, it was completely the wrong shape. Anyway, score up where you'll be drilling and then make a pass with the drill and needle files...you should eventually be left with a decent hole. Next i polished i up with various grades of wet and dry paper, and some Autosol metal polish. Its important to do this now as polishing with the blade affixed gets trickyer.

Next make sure all the other bits of the handle are completely flat so they glue right. Thats important. I made this press myself to help with the glueing... I saw someone else with one and pinched the design. It works a treat and is really simple to make. The glue is two part epoxy, this time it was five minute epoxy, but any type is fine. The trick here is to not squeeze it too tight, there's potential to squeeze the glue out completely! Been there done that.

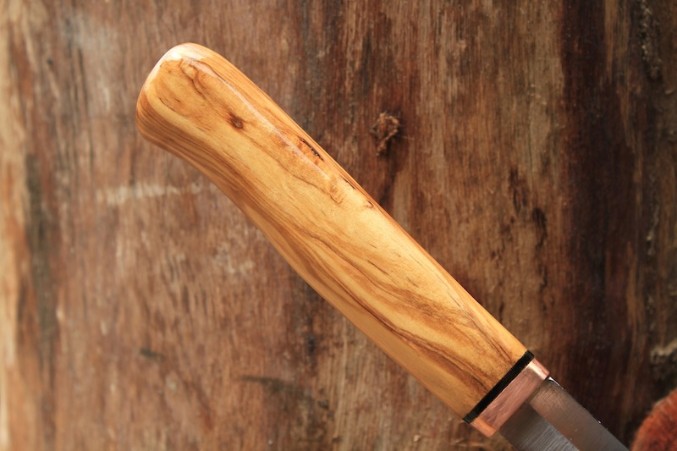
Once its dried up, its the fun part of shaping the wood down to the handle shape you desire. Previously, I've just let the handle emerge, but we wanted a specific shape, so we worked to drawings and pictures of other knives. I would shape a bit and get feedback, shape a bit etc... Tools to use can vary from the old fashioned rasp and file to strips of sand paper all the way up to the power tools like this:

Really there's no right or wrong shape...well, within reason. It just has to feel right in the hand and be comfortable to use. I generally start with a rough grit of about 60-80 for the hard shaping and then scale it down gradually to something like 340-600. Then its a case of hand rubbing right through to 1200-1500. Anything beyond that is a bit obsessive... which I am, so I even found 2500 grit paper. So smooooth. Finishing is a mixture of 50/50 linseed oil and beeswax mix, I boil it up myself and then apply in coats.
This wasn't supposed to be a detailed tutorial, more of a insight into how things come together. I'd love to put together a comprehensive step by step guide, but for now a little mystery is good. The main thing is to give it a go...